


Fiberglass Repair
There are many ways to do fiberglass repair.
Here are some tips and methods.
Personal Safety protection is a must.
Mask, gloves, and protective clothing are a must.
Tools Required
|
|
|
|
|
| Supplies that will be needed, wax paper, fiberglass matting, scissors for cutting matting, mixing cups, brushes. | I keep them in a tote for storage. | Air tools that I commonly use. 5 inch grinder, 3 inch sander, 3 inch DA sander, and die grinder. | Products that I used on this hood. Fiberglass Resin, Upol Fiberlite filler, and Upol Reface polyester sprayable filler. |
Product Info.
Not to bore you, but there is some fundamental information on products that you should be aware of.
Fiberglass Cloth: There are two main types used for repair work on fiberglass. Strand mat and Woven fabric or Roving. Note that there are many different thicknesses and types of matting. You must verify that the matting is best for your use. There are more types, but this is what I find in most stores. If you go to specialty places, there are more types that we will not cover here.
 |
 |
| Above is chopped matting. It is comprised of strands of fiberglass going in all directions. This is equally strong in all directions. | Woven Fabric, or Woven Roving. This has bundled yarns going in two directions at 90 degrees to each other. There are some tricks when using this to obtain maximum strength, but for repair work I don't worry about it. |
Fiberglass Resin: There are two basic types. Epoxy resin, and polyester resin. Epoxy resin can only be used on fiberglass and is the cheapest. Polyester resin can be used on fiberglass and SMC (sheet molded compound). We are using epoxy resin in this repair as it is fiberglass. No need to spend extra money for the Polyester resin in this repair.
NOTE: Hardener for epoxy resin is only good for one year from manufacturer. If you do not remember when you purchased your resin, throw the hardener away and get new hardener. Old hardener will just give you headaches and not fully cure.
| One tool not pictured above that is a must have tool is a laminating roller. These are cheap.... Do not use directly on fiberglass resin unless you want a work out in the exercise of cleaning it. |
 |
| You can also make one out of alternating sized washers. |
Ok, the repair!
 |
 |
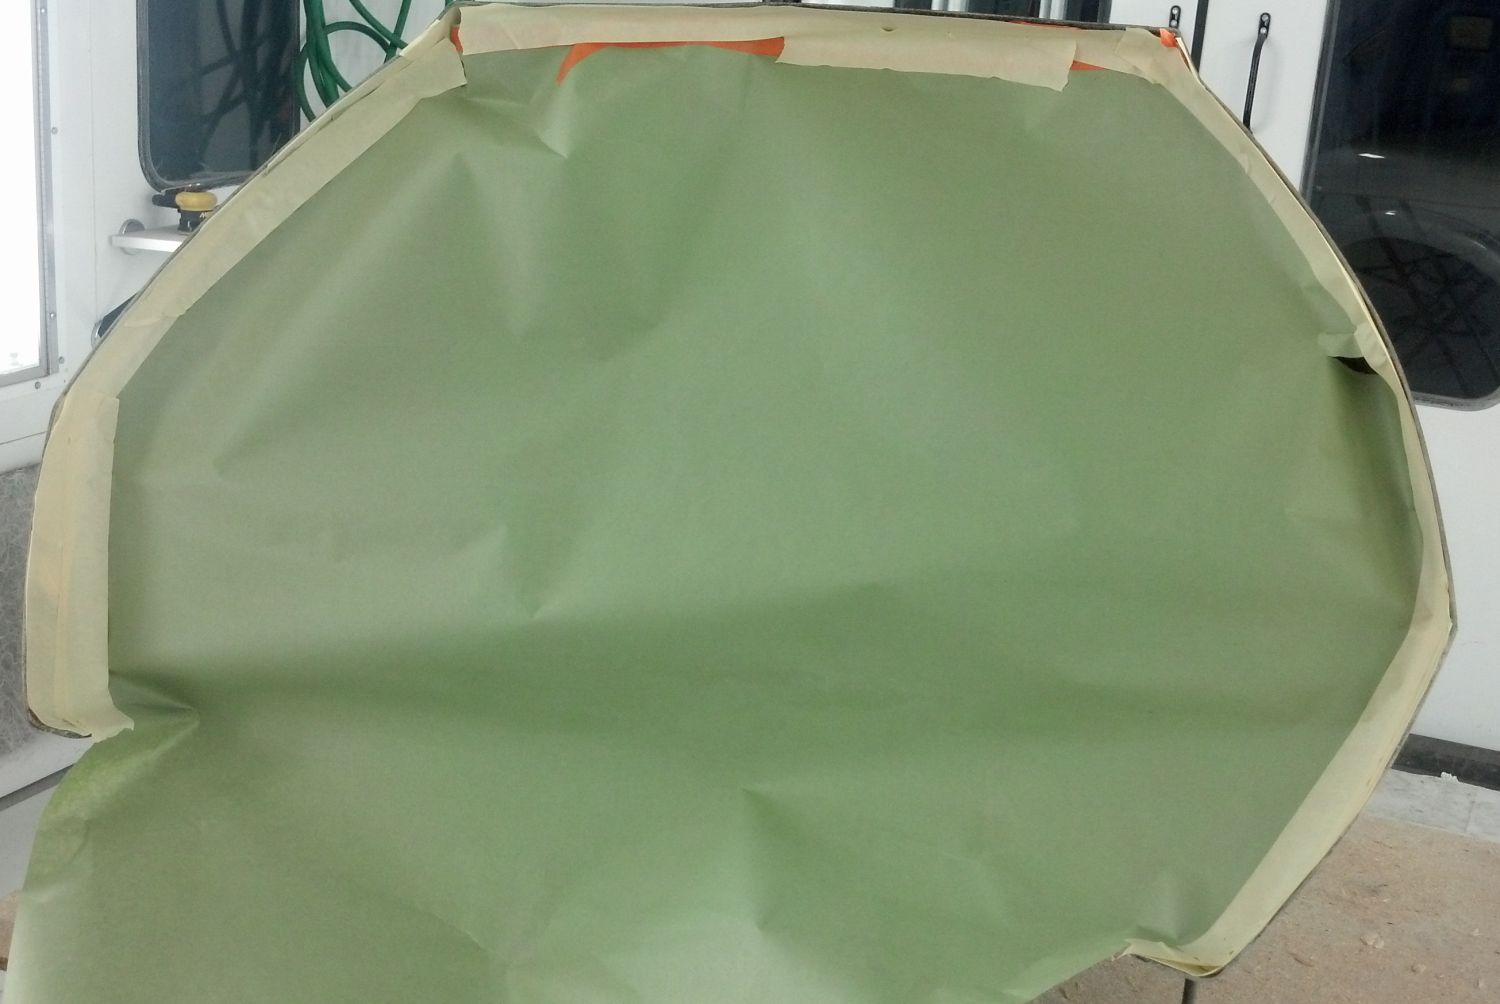
| Duct Tape put on the front side to fill missing fiberglass and help hold repair in place. | Inside of hood which is ground, showing duct tape in place and ready for repair material. I generally do the inside repair first when possible. |
 |
 |
| First layer of matting on a piece of wax paper. I prefer the woven material for most applications. I think it stays in corners better. | Some resin applied to the matting using a brush. |
 |
 |
| The resin is then worked into the matting. A common mistake is too much resin and not working the resin into the matting. This is done 3-4 more times to achieve multiple layers of matting. A light coat of resin is also applied to the hood before the next step. | Using the wax paper, I put the resin soaked matting into place. I then use the roller to roll air bubbles out. Loose strands and air bubbles are your enemy. I then try and clamp into place. |
 |
|
| Outside showing wood to help put the original fiberglass in shape with wax paper. | |
 |
|
| Outside of the repair after the inside had cured. You must clean up broken and loose fiberglass. | Matting cut and ready to apply resin to. I make the pieces slightly different sizes so that the repair is tapered. |
 |
 |
| Repair has a light coat of resin applied to it. | Matting has resin applied over was paper again as shown before. Then I applied the matting using the wax paper and a clamp applied with a wood stick to help keep it all in place. Again working all air bubbles out with the roller. |
 |
 |
| I use a heat gun to help cure things a bit faster so that I can move to the next step. | Cosmetic outside repair ready for finish work. I generally put a thin layer of resin over the repair and sand just to fill any minor imperfections and to make sure any loose strands have resin in them. Than lightly sand again. Note: |
 |
 |
| Another spot on the side that didn't really show up until I started grinding. The glass was all loose due to a minor abrasion with something. Ground out all loose material on the front side. | Matting cut to shape. Again multiple layers will be used. |
 |
|
| Backside of the repair showing it to be clean and loose material removed with duct tape in place on the front side. | Duct tape on front side. |
 |
 |
| Inside of the hood with a thin layer of resin and one layer of matting wetted up. | Remainder of mating on wax paper ready to be applied. Sorry, no more pictures of this repair. |
 |
 |
| Upol Fiberlite applied. Fiberlite is a fiberglass reinforced filler. I spreads easier and sands a lot nicer than a lot of the other brands out there. When I found this product, all others went in the dumpster...... | Watch sharp corners. Frequently you will find air pockets JUST under the surface that are ready to fail. I use a blow gun and blow VERY hard at all sharp corners. |
 |
 |
| This is sanded to 180 grit. We are ready for the next step | |
 |
 |
| Inside picture | |
 |
 |
Is your skin itching just from the pictures???
The next step. You could prime, gelcoat (if you hadn't used the filler) or use sprayable polyester filler to finish this off. For this job I used sprayable polyester filler.
Sprayable polyester is sprayed from a paint gun, but it is the same basic product as plastic filler that you spread. I used a 2.5 tip primer gun for this step.
 |
 |
| The back side masked off to keep the inside clean of any material | Polyester sprayed and sanded ready for paint. This has been sanded to 400 grit. I started with 240, then 320 and 400. Most sanding was done with the 3 inch DA. Some sanding by hand and a bit with a 6 inch DA sander. |
 |
 |
| Here you can see the platform that I have the hood on. | |